

Day 2: Databases, Authentication & Security Measures
Database Management and Security with Lovable

Mastering AI and machine learning, one step at a time.
Learnt more about using Lovable, in particular database management, authentication and implementing admin roles and row-level security.
I’m using Lovable Academy’s intermediate course for this:
Here’s a recap of what I learnt today:
Database and Authorisation Essentials
Databases 101
A database is used for storing persistent user data. If you want to create an app that where users can consistently upload and access data between sessions, you need a database (e.g., e-commerce platforms, social media apps)
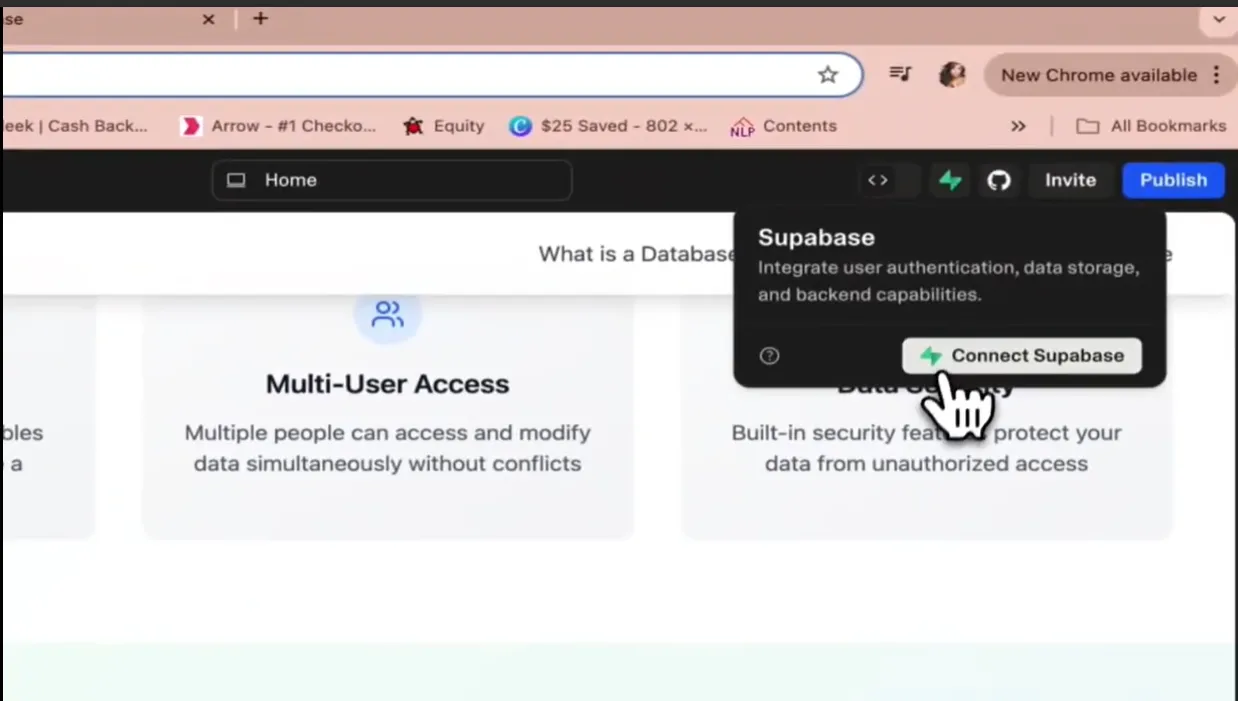
Lovable uses Supabase as its native database integration. Connecting your project to Supabase with Lovable is extremely simple; just click “Connect to Supabase” in the top right corner:
With Lovable, just use natural language instructions to generate SQL commands to interact with your Supabase database.
Auth Basics— implementing user authentication (i.e., email/password login flow) is simple with Lovable:
(1) Connect to Supabase → ensure Lovable project is connected to Supabase
(2) Prompt Lovable for authentication → write a simple prompt in Lovable, such as “Add a simple login page using Supabase authentication for email and password login.”
(3) Review generated database schema → Lovable will create essential tables in your database to store user details like usernames, emails and passwords, as well as set up security policies for data privacy.
(4) Apply changes → Lovable will suggest changes to the database, which you will then need to approve to implement
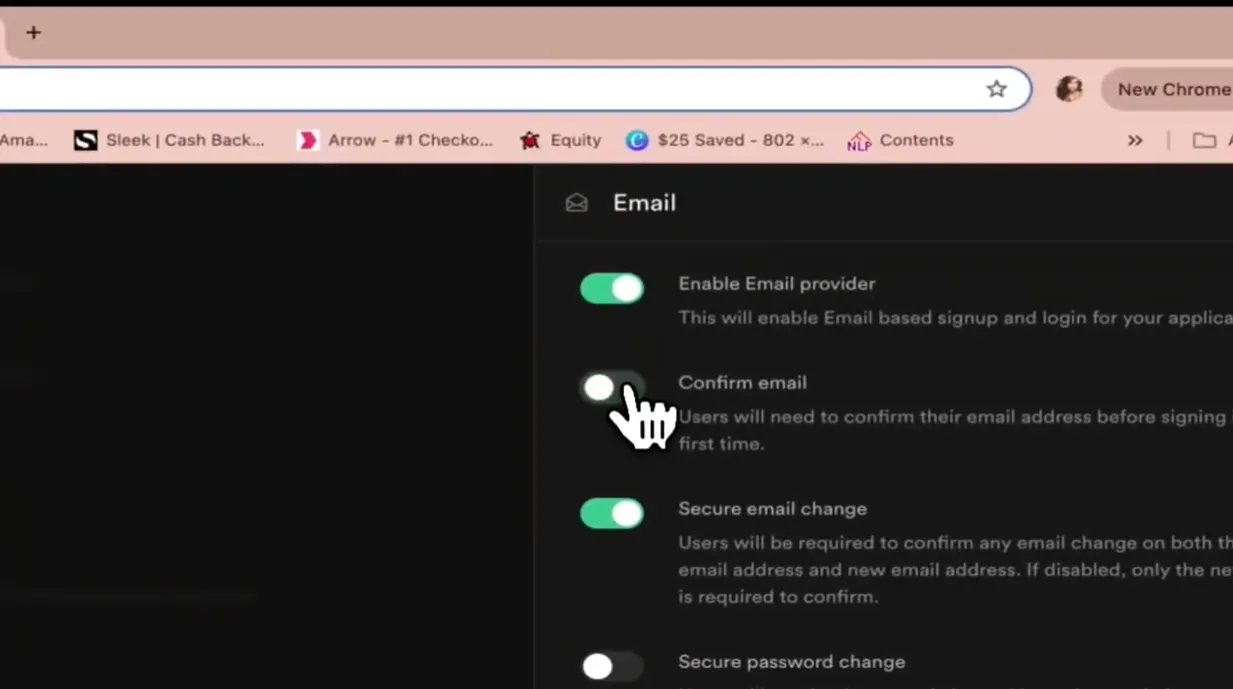
(5) Configure Supabase authentication settings → you can toggle “confirm email” in Supabase authentication settings to determine whether users need to confirm their email address to sign up
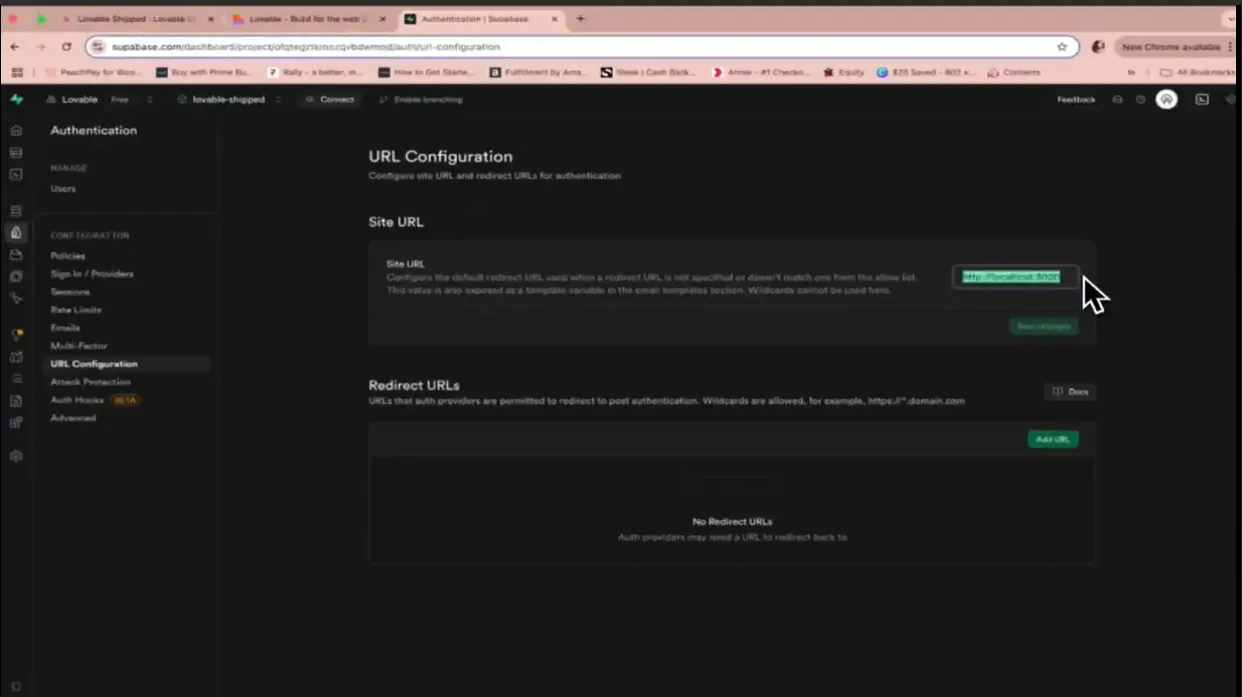
(6) Set up URL configuration → you need to change the URL configuration in Supabase from “localhost:3000” (local machine) to your live Lovable domain
(7) Test the authentication flow → attempt to sign up using a test email and verify that automatic login occurs
Third-Party Auth— we can also use third-party integrations (e.g., sign-in with Google) for authentication
(1) Ensure Supabase is connected → again, ensure Lovable project is connected to Supabase
(2) Configure Supabase authentication → In Supabase’s Authentication tab, enable Google as an Auth Provider
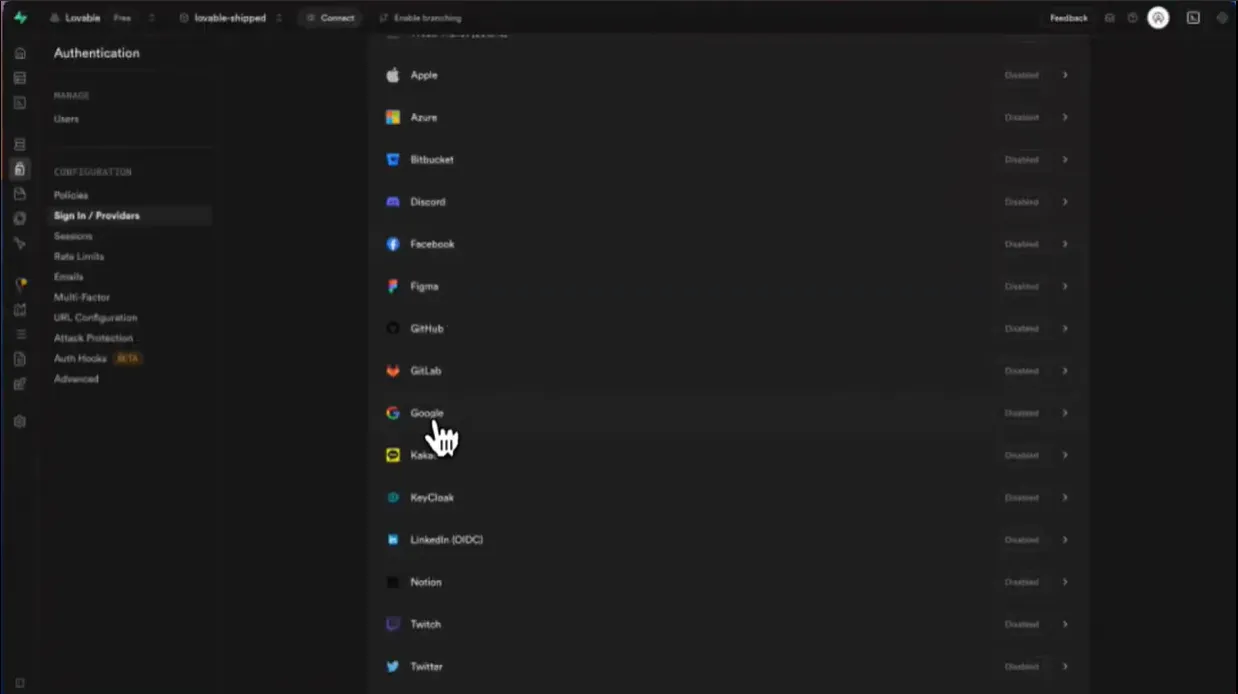
(3) Obtain Google credentials → obtain the relevant Google credentials from your Google Cloud account, namely Client ID and Client Secret. Also, ensure you copy the callback URL provided into “Authorized redirect URIs” to ensure proper redirect to the Google authentication page
(4) Finalise setup in Supabase → after entering Google OAuth credentials and callback URL, save in Supabase to finalise setup
(5) Prompt Lovable to add Google login → Provide Lovable with a simple prompt: “Add login with Google option”
(6) Preview and test authentication → test your web app by trying to sign up with Google account
Roles & Row Level Security
Checking and Resolving Security Warnings → Lovable has a built-in security advisor. Just click the “Publish” button to identify any database-related security warnings. You can address these by using the “try to fix” option next to each warning


Row-level security and user roles → Row-level security (RLS) is a database security practice that limits access to data in a database by row so users can only access data they’re authorised to.

To use RLS in Lovable, simply prompt it to introduce different levels of user access for different user roles. For instance, you can prompt:
“Add a simple admin role to users. This admin can view a special admin page that has access to edit and delete posts”Then, test this out by asking Lovable to assign admin privileges to an existing user account to see that the admin role works.


